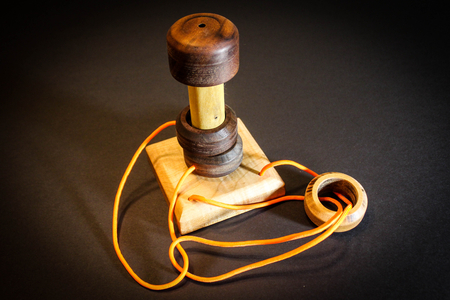
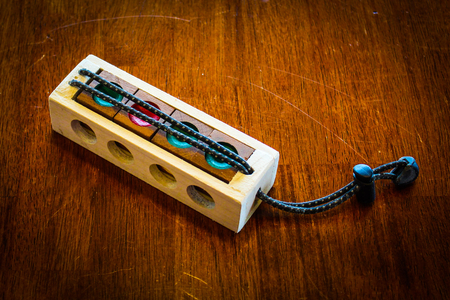
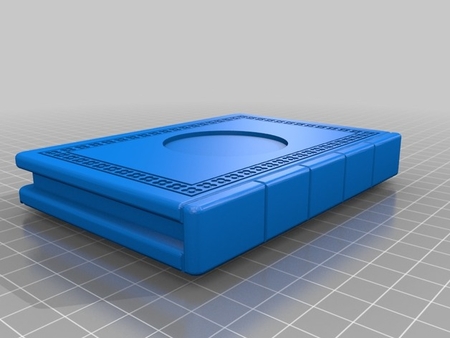
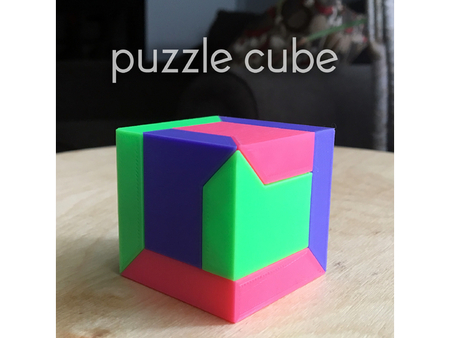
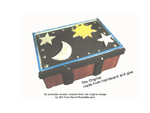
Wizard puzzle box 3D for print

2795 Views 0 Likes 1 Downloads Download
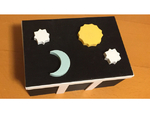
Here is the secret:
When the Sun goes down
and the... Moon goes up
the Stars come together
and the secret is revealed
The original Wizard puzzlebox created by Will from StormTheCastle.com (
http://www.stormthecastle.com/how-to-make-a/make-a-wizards-puzzle-box.htm
)
was made in Foam and i have created a 3D printable version of it.
I got his permission to create a 3D version of his idea.
There are less parts than in the original design :-)
If you have a printbed of 140x140x140 then resize everything in your slicer to 63.45%
Here is the part list and some print settings i used.
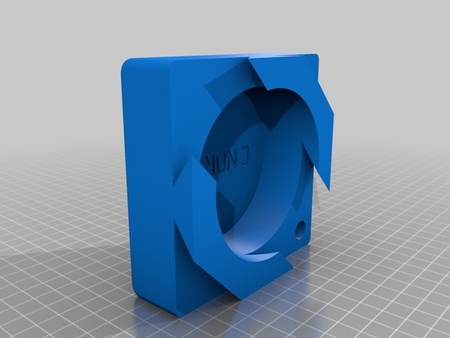
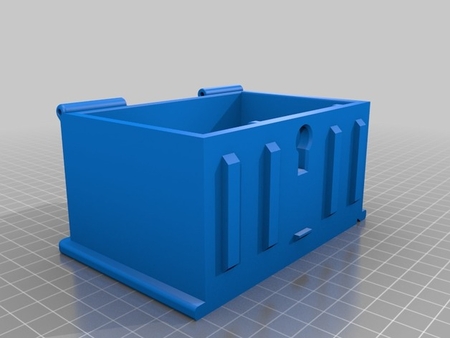
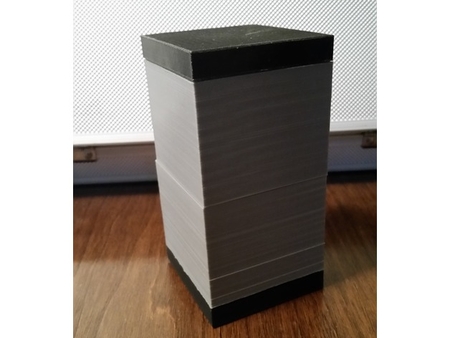
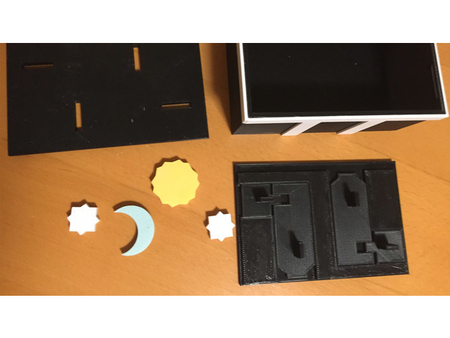
Box:
1x The box -20-30% innfill, 3mm support for the slots
1x The Lid (Top holes) 20-30% innfill, no support
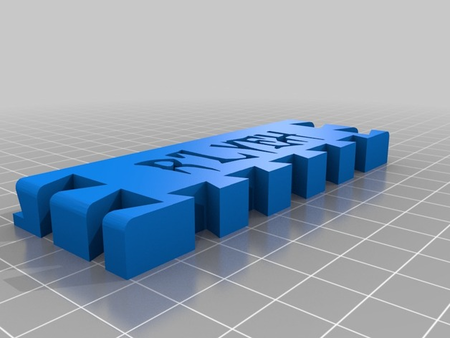
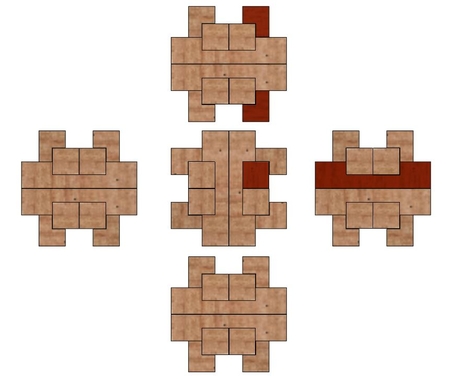
Puzzle:
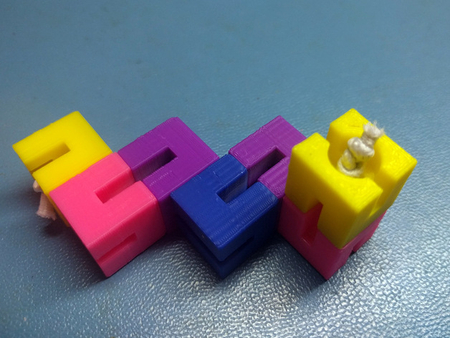
1x Puzzle main board 30% innfill, no support
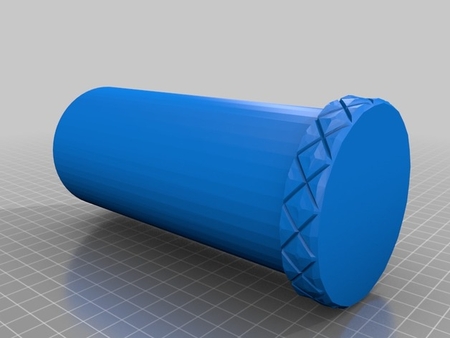
1x Puzzle pieces FGHI 100% innfill, no support
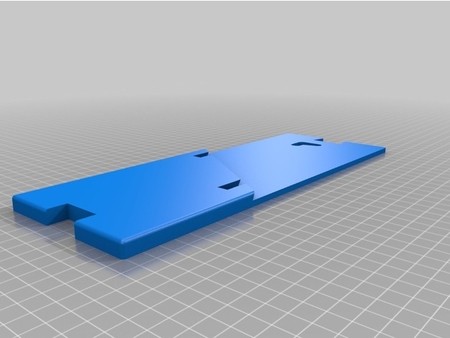
Border:
4x short4 20-30% innfill, no support
2x longside2 20-30% innfill, no support
2x shortside 2 20-30% innfill, no support
SliderButtons:
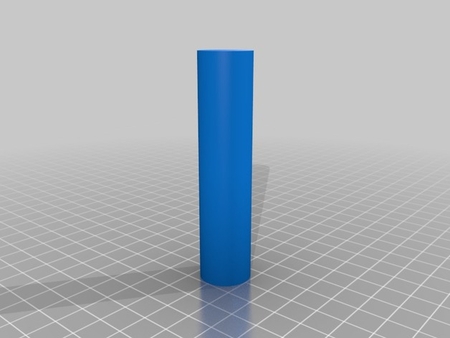
1x Moon 20-30% innfill, no support
1x Sun 20-30% innfill, no support
2x Stars 20-30% innfill, no support
the edges of the starts are very sharp, i will try to fix this in the next update.
FlashForge
Printer:
Finder
Rafts:
No
Supports:
Yes
Resolution:
.2
Infill:
20-100
Post-Printing
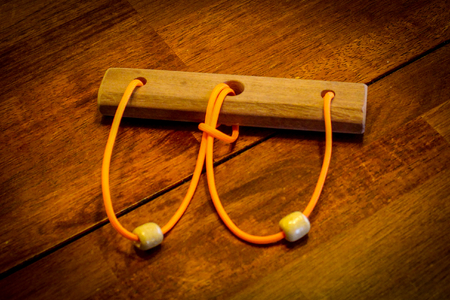
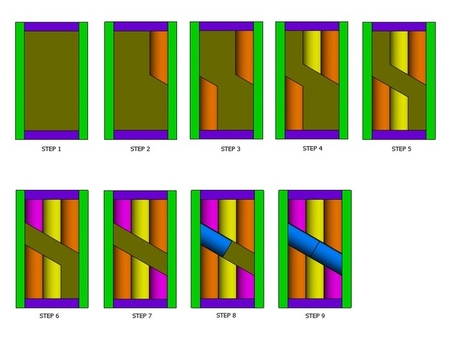
attaching tophole...s board to puzzleboard
You need to attach the topholes part to the puzzle after you have inserted the puzzle pieces. Use first some tape to check if everything still slides. (i have made the puzzle pieces slightly lower than the puzzleboard) before you glue everything together.
How I Designed This
Fusion 360
I have used Fusion 360 for just 2 months, so there are a lot improvements to be make to the designed files. any help in creating a good model in F360 would be appreciated, please contact me.
Designer
rubenvt3d model description
03 march 2019: I will create a new and improved version very soon and will update this here.Here is the secret:
When the Sun goes down
and the... Moon goes up
the Stars come together
and the secret is revealed
The original Wizard puzzlebox created by Will from StormTheCastle.com (
http://www.stormthecastle.com/how-to-make-a/make-a-wizards-puzzle-box.htm
)
was made in Foam and i have created a 3D printable version of it.
I got his permission to create a 3D version of his idea.
There are less parts than in the original design :-)
If you have a printbed of 140x140x140 then resize everything in your slicer to 63.45%
Here is the part list and some print settings i used.
Box:
1x The box -20-30% innfill, 3mm support for the slots
1x The Lid (Top holes) 20-30% innfill, no support
Puzzle:
1x Puzzle main board 30% innfill, no support
1x Puzzle pieces FGHI 100% innfill, no support
Border:
4x short4 20-30% innfill, no support
2x longside2 20-30% innfill, no support
2x shortside 2 20-30% innfill, no support
SliderButtons:
1x Moon 20-30% innfill, no support
1x Sun 20-30% innfill, no support
2x Stars 20-30% innfill, no support
the edges of the starts are very sharp, i will try to fix this in the next update.
3d model print parameters
Printer brand:FlashForge
Printer:
Finder
Rafts:
No
Supports:
Yes
Resolution:
.2
Infill:
20-100
Post-Printing
attaching tophole...s board to puzzleboard
You need to attach the topholes part to the puzzle after you have inserted the puzzle pieces. Use first some tape to check if everything still slides. (i have made the puzzle pieces slightly lower than the puzzleboard) before you glue everything together.
How I Designed This
Fusion 360
I have used Fusion 360 for just 2 months, so there are a lot improvements to be make to the designed files. any help in creating a good model in F360 would be appreciated, please contact me.